Table of Contents
Build a turkey printable templates turn a sheet of paper into a hands-on Thanksgiving craft. Color the feathers and body pieces, cut them out, then arrange and glue them into your own turkey. The downloads include a piece sheet and a matching assembly guide, with rounded feathers, longer feathers, decorative patterns, or a one-piece half-fan tail.
Download a Build a Turkey Printable
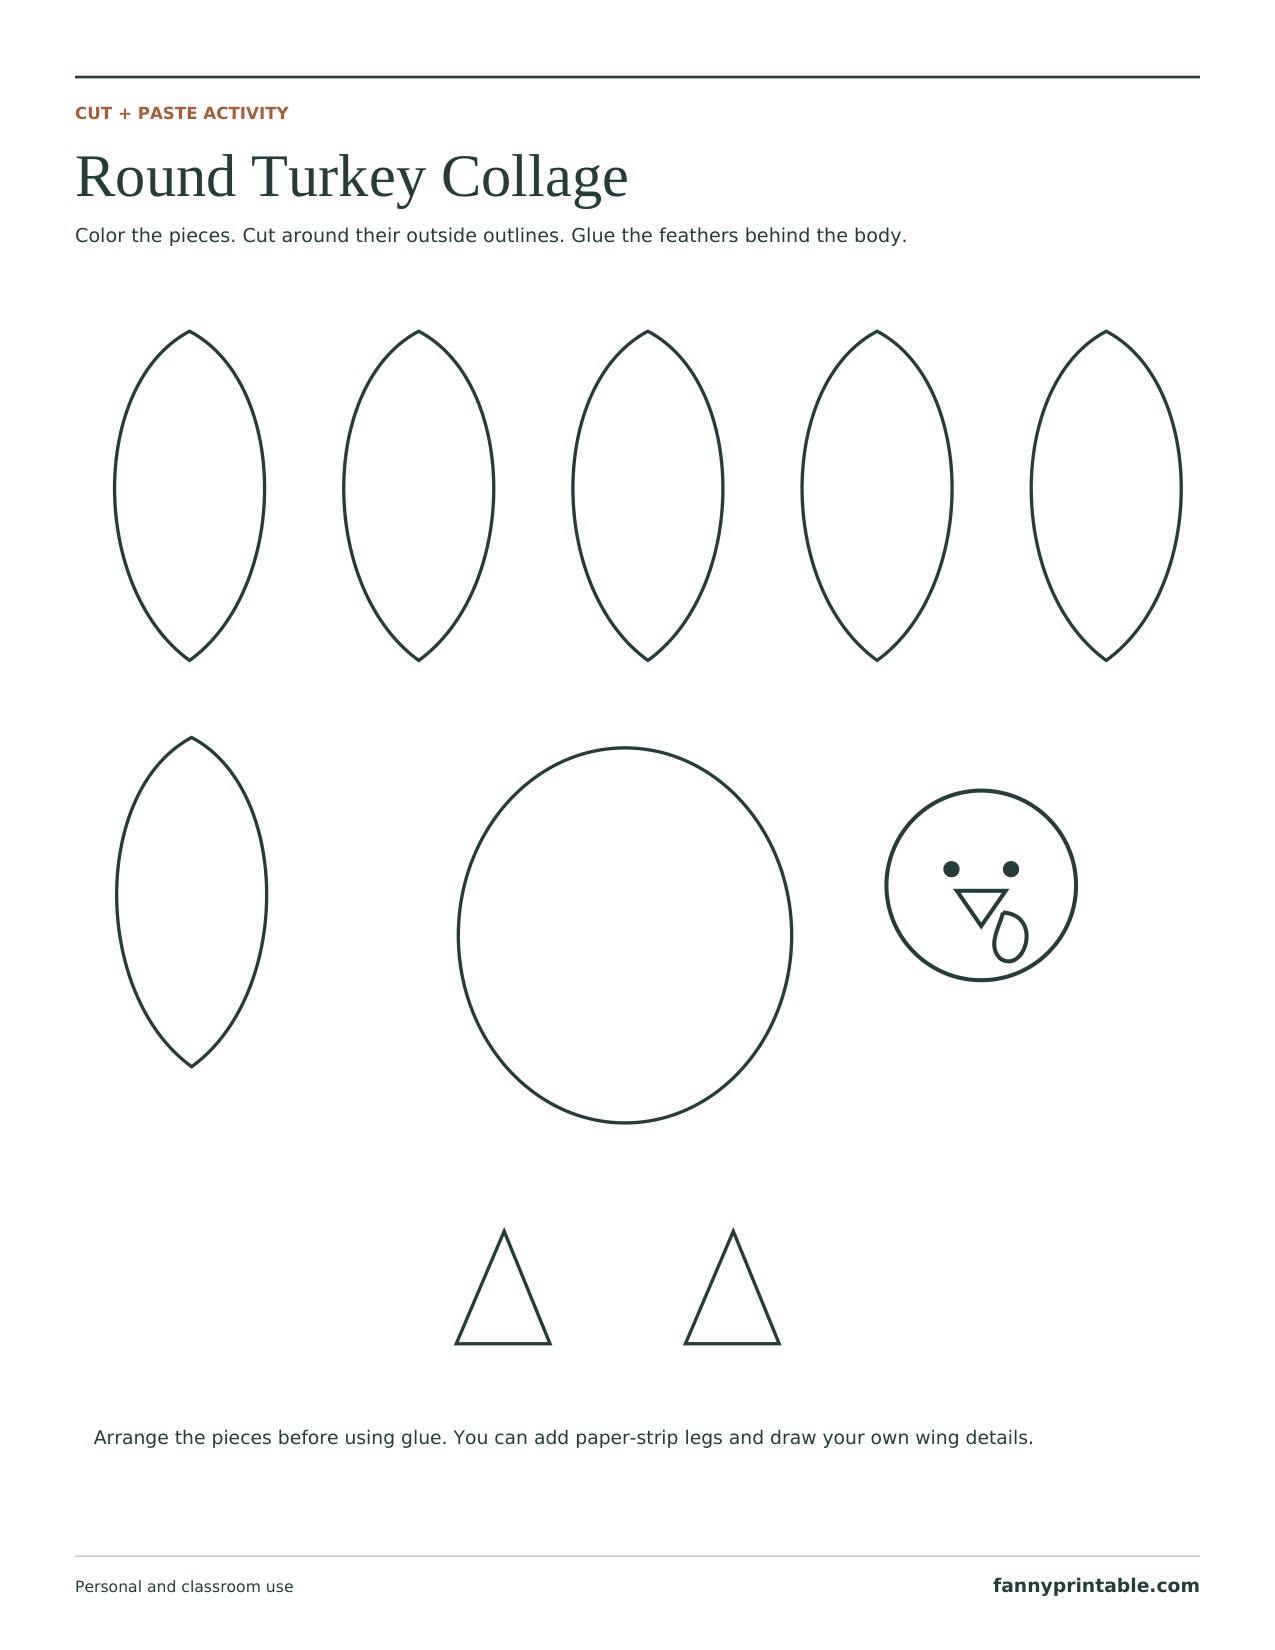
Separate rounded feathers, oval body, turkey head, and triangular feet with an assembly guide.
Download Round Turkey Collage PDF
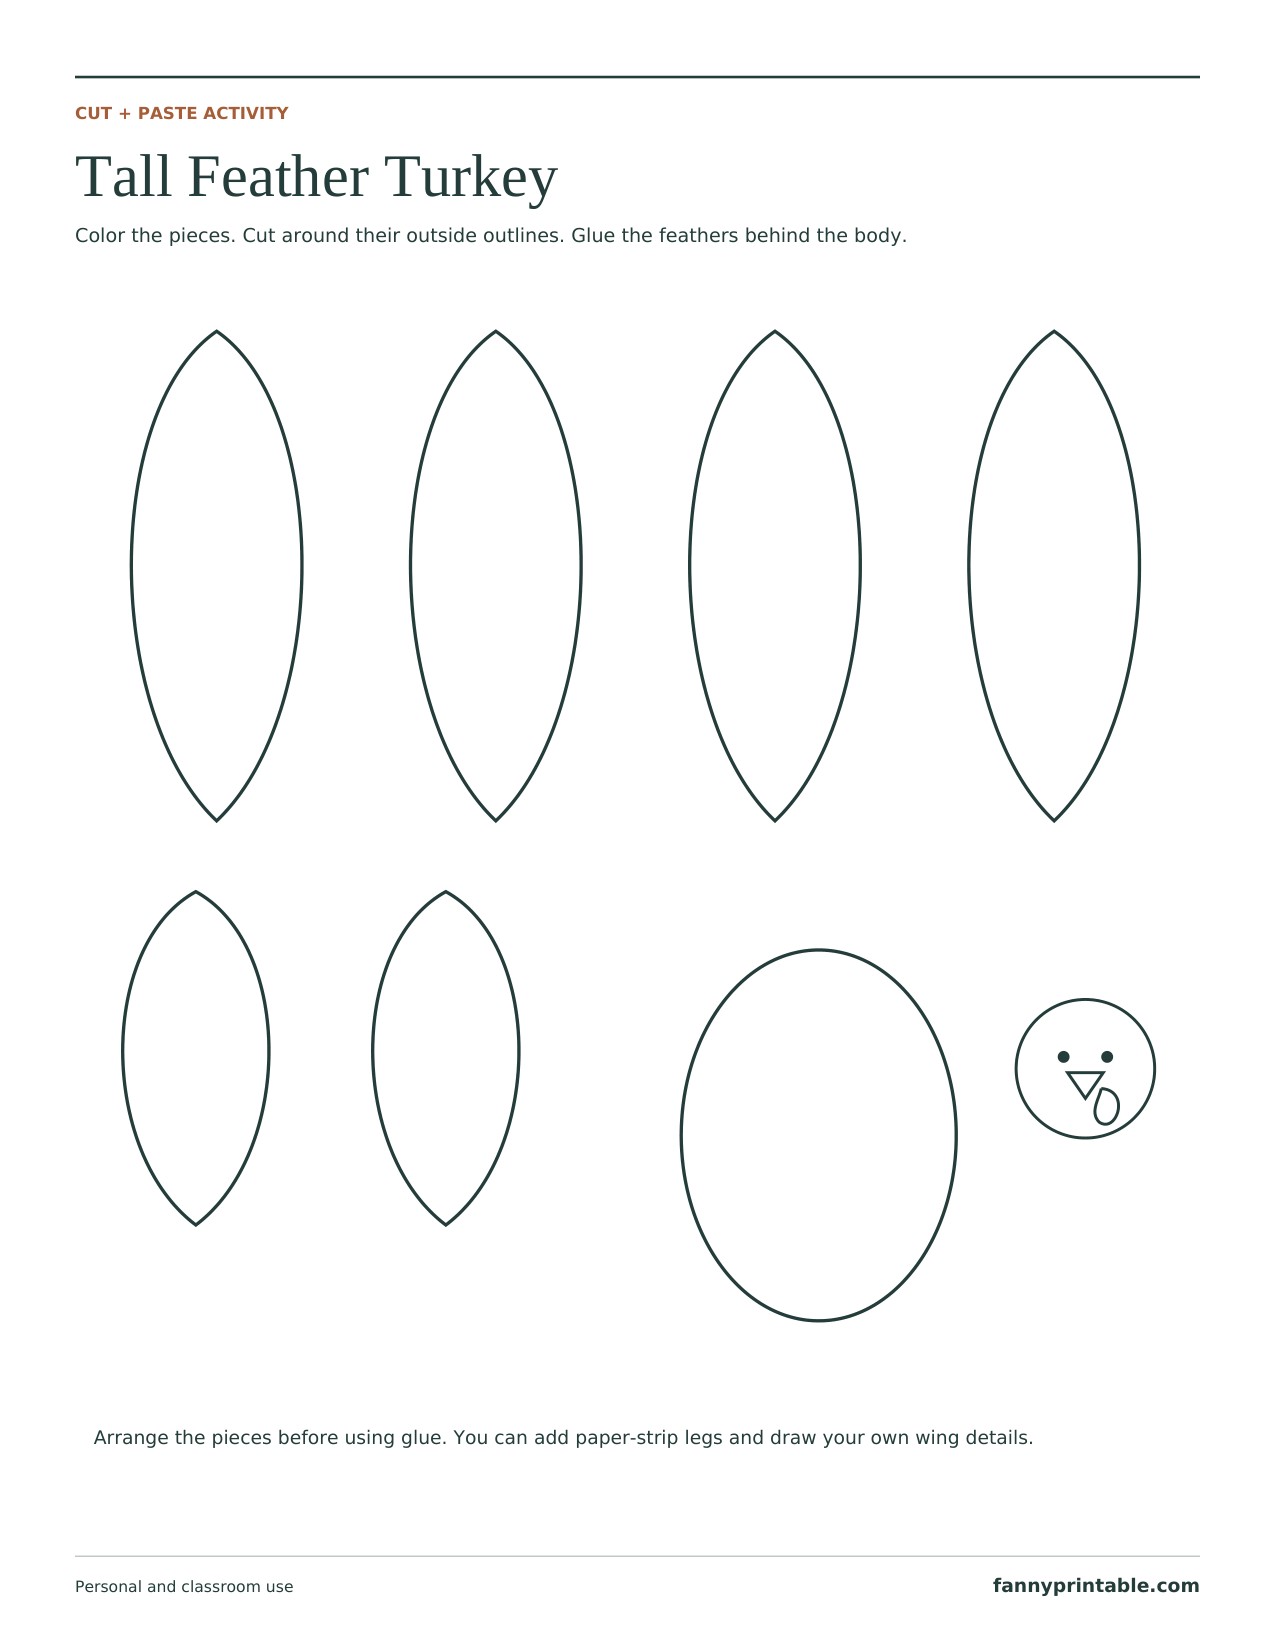
Long narrow feathers, an oval body, and turkey face pieces with an assembly guide.
Download Tall Feather Turkey PDF
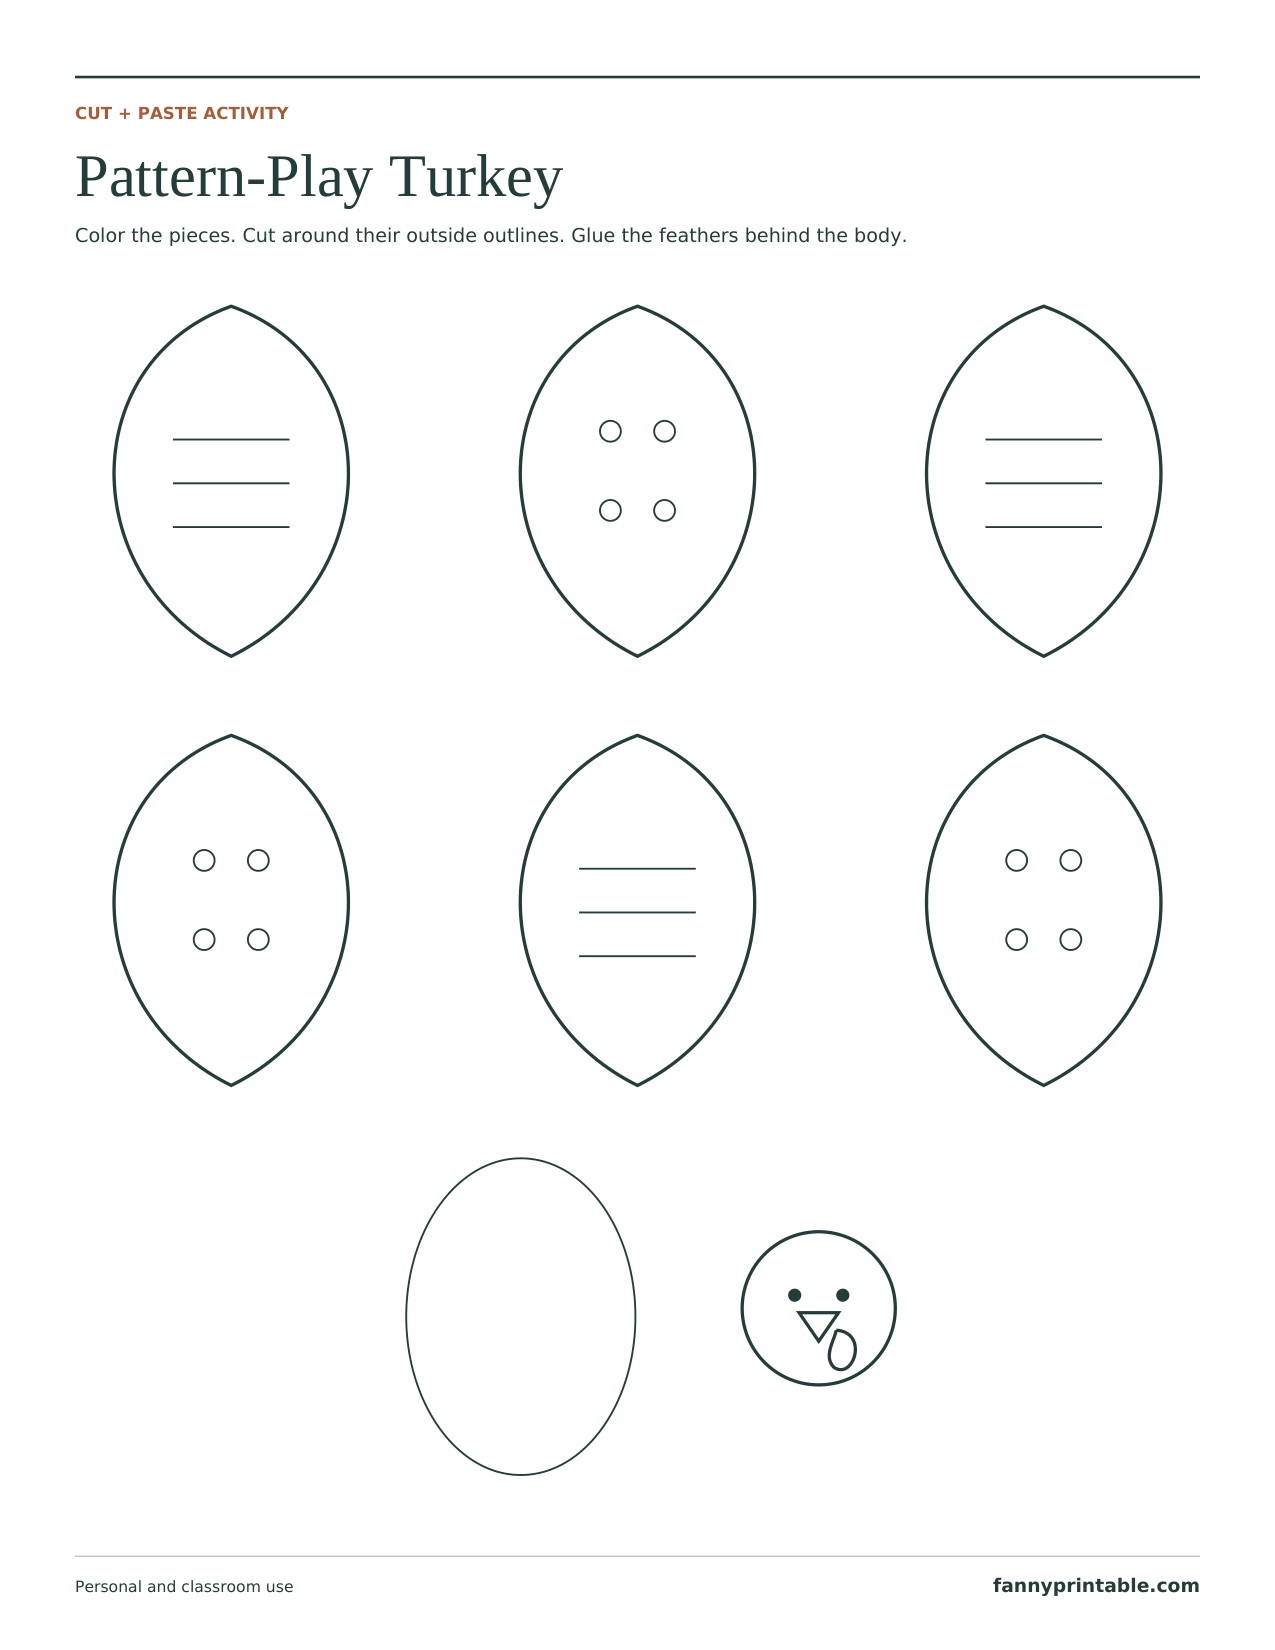
Patterned feather pieces with an oval body and turkey face for a patterned paper collage.
Download Pattern-Play Turkey PDF
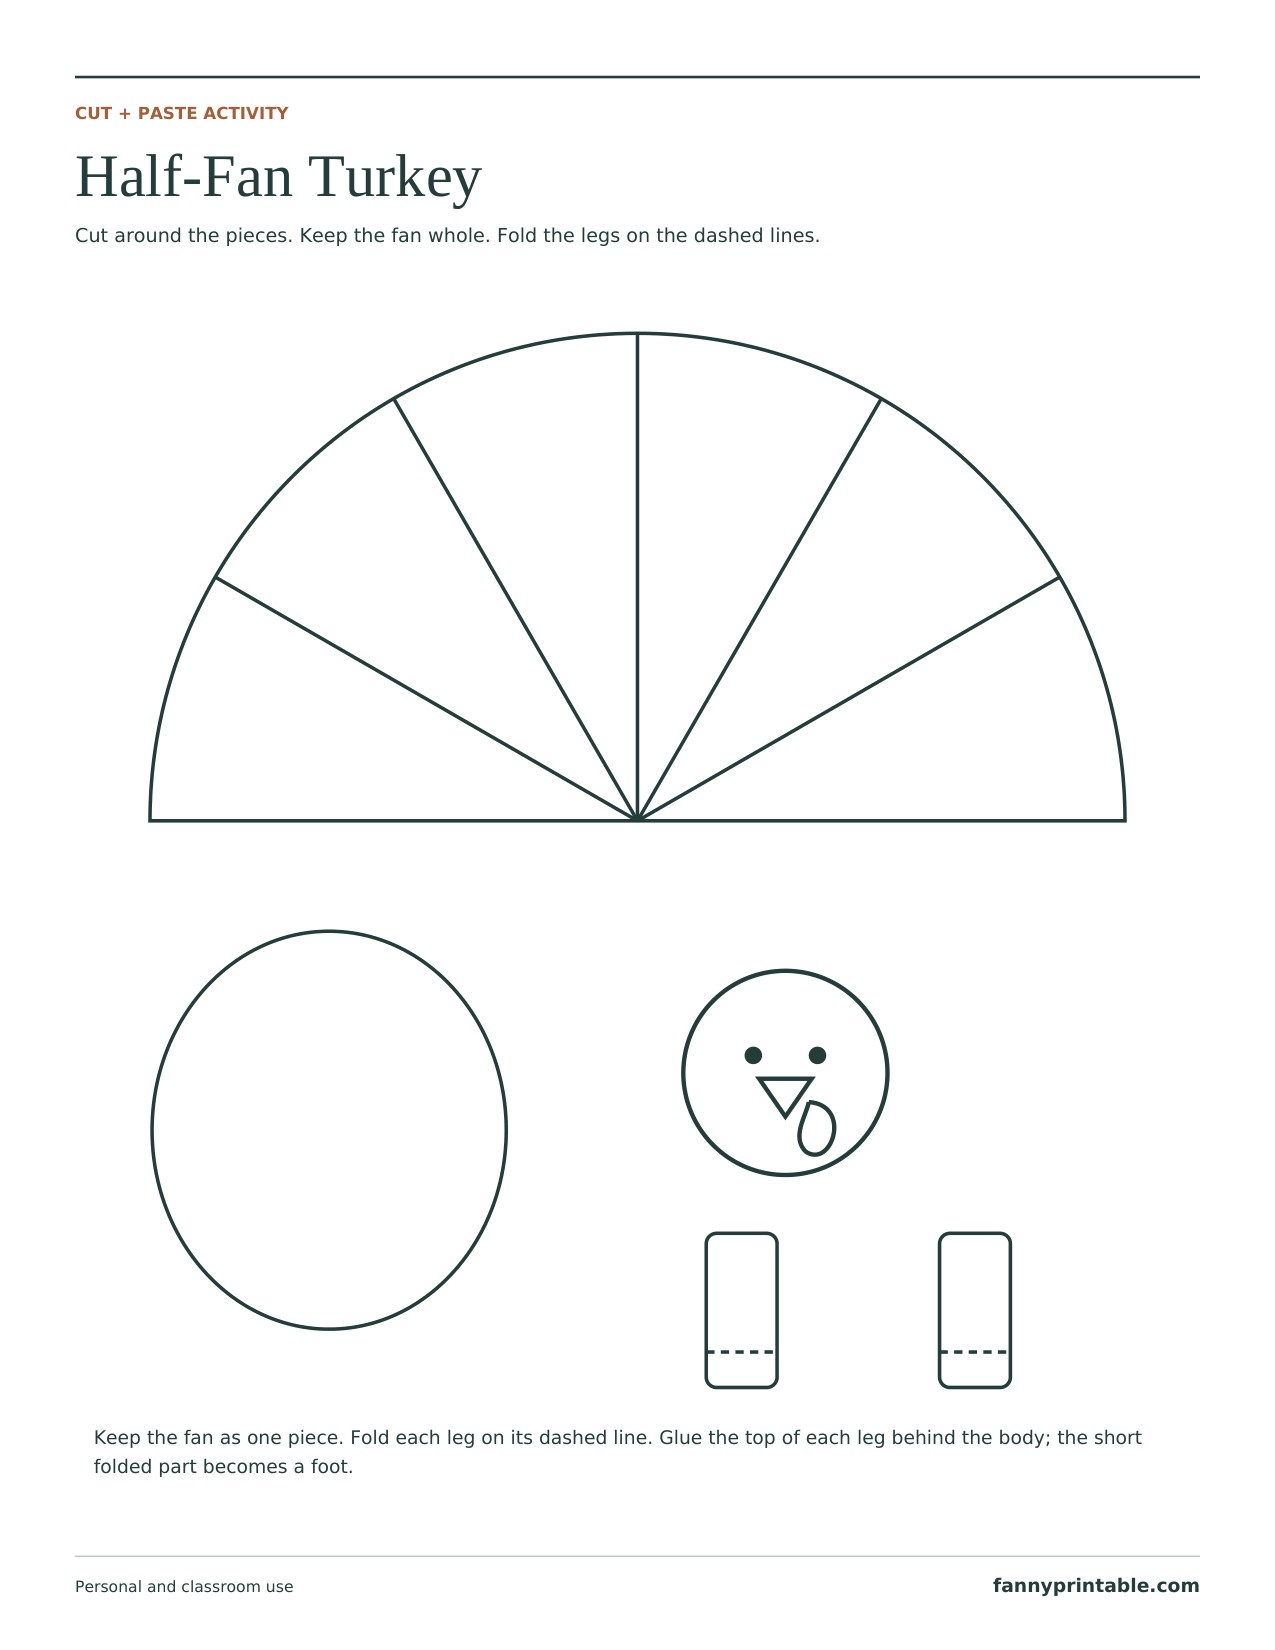
A segmented half-fan tail, oval body, head, and fold-marked paper legs with assembly guide.
Download Half-Fan Turkey PDF
What You Need for the Turkey Craft
Start with a printed template, coloring supplies, scissors, a glue stick, and a sheet of backing paper. The project can stay simple: the printed pieces already supply the main parts. Extra materials are optional, and you can decide whether to add them after seeing how the turkey looks.
- US Letter copy paper or printer-compatible cardstock
- Crayons, colored pencils, or washable markers
- Scissors suited to the person cutting
- A glue stick or a small amount of craft glue
- Construction paper or cardstock for the background
- A small tray or envelope to hold cut pieces
Use ordinary paper when the turkey will be glued to a background. Cardstock gives the pieces more firmness, but it can take more effort to cut. If an adult is preparing the activity for a group, cut out a sample before deciding which paper to use.
Choose the Feather Style
Round Turkey Collage
The round-feather design has separate rounded feathers, an oval body, a head, and feet. Its broad shapes make color placement easy to see. Arrange the feathers in a fan before adding the body so their colored ends remain visible.
Tall Feather Turkey
The taller design changes the outline of the finished bird with long central feathers and shorter outside feathers. Keep the tallest pieces near the middle of the fan. You can move the outside pieces slightly downward to create a balanced shape.
Pattern-Play and Half-Fan Turkey
The pattern version includes feather details for anyone who wants a more decorative collage. The half-fan version keeps the tail together as one piece, making assembly simpler. Its paper legs have marked folds; fold those lines so the short end of each leg becomes a foot.
How to Build Your Paper Turkey
- Download the chosen PDF and print the piece page. Keep the assembly guide nearby.
- Color the pieces before cutting, while they are still easy to hold on the full sheet.
- Cut around each outside outline. Keep the half-fan tail whole if you chose that version.
- Lay the feathers or fan on a backing sheet, then place the body over their lower ends.
- Position the head, then add the supplied feet or folded legs if your chosen template includes them. Check its assembly guide before gluing.
- Lift one piece at a time to add glue, then press it gently into place.
- Let the craft dry flat before lifting or displaying it.
A dry arrangement helps prevent frustration. When children try the layout before gluing, they can see whether a feather is hidden or a foot is pointing the wrong way. Take a quick photo of the arrangement if you want a reference while attaching the pieces.
Simple Adjustments for Different Craft Sessions
| Situation | Helpful Adjustment | What to Keep in Mind |
|---|---|---|
| A short activity | Use the one-piece half-fan tail. | Coloring and arranging still leave room for personal choices. |
| Children need cutting help | An adult can prepare some pieces. | Let children decide the colors and final layout. |
| A classroom craft station | Keep each set of pieces in its own tray. | Label the backing sheet before gluing begins. |
| A detailed art project | Choose patterned feathers and colored pencils. | Allow more time before the cutting stage. |
Ways to Personalize the Finished Turkey
Write a name on the background, add a paper border, or draw a setting around the finished bird. You might give the turkey a grassy patch, falling leaves, or a simple speech bubble. Keep heavy additions off the feather tips unless the backing is strong enough to hold them.
For a gratitude version with dedicated writing spaces, use the separate thankful turkey printable. If you only want a single shape to cut out, the turkey cutout templates provide continuous outlines. This build-a-turkey activity is intended for arranging individual parts.
Printing and Assembly Questions
Should I Print Both PDF Pages?
The first page contains the pieces; the second provides the assembly guide. You can print both or view the guide on a screen while using the printed piece sheet.
What Print Setting Keeps the Pieces Matched?
Use Letter paper and the same scale for the full piece page. Actual Size is suitable when everything fits. If your printer needs Fit, apply it consistently rather than resizing individual pieces.
Can We Make Other Turkey Projects After This?
Try the turkey craft templates for a puppet, crown, bookmark, or table card. Keep each finished project flat until the glue is dry, then store it carefully so the feathers do not bend.